Analyze a Co-Design study
Last updated: July 30, 2026
🚀 New as of July 2026 🚀
After a Co-Design study is complete, review study Results to browse individual participant responses and download co-design generated images.
Then, navigate to Insights to understand the recommendations, patterns, and supporting evidence for each Co-Design question.
Review Participant Iterations
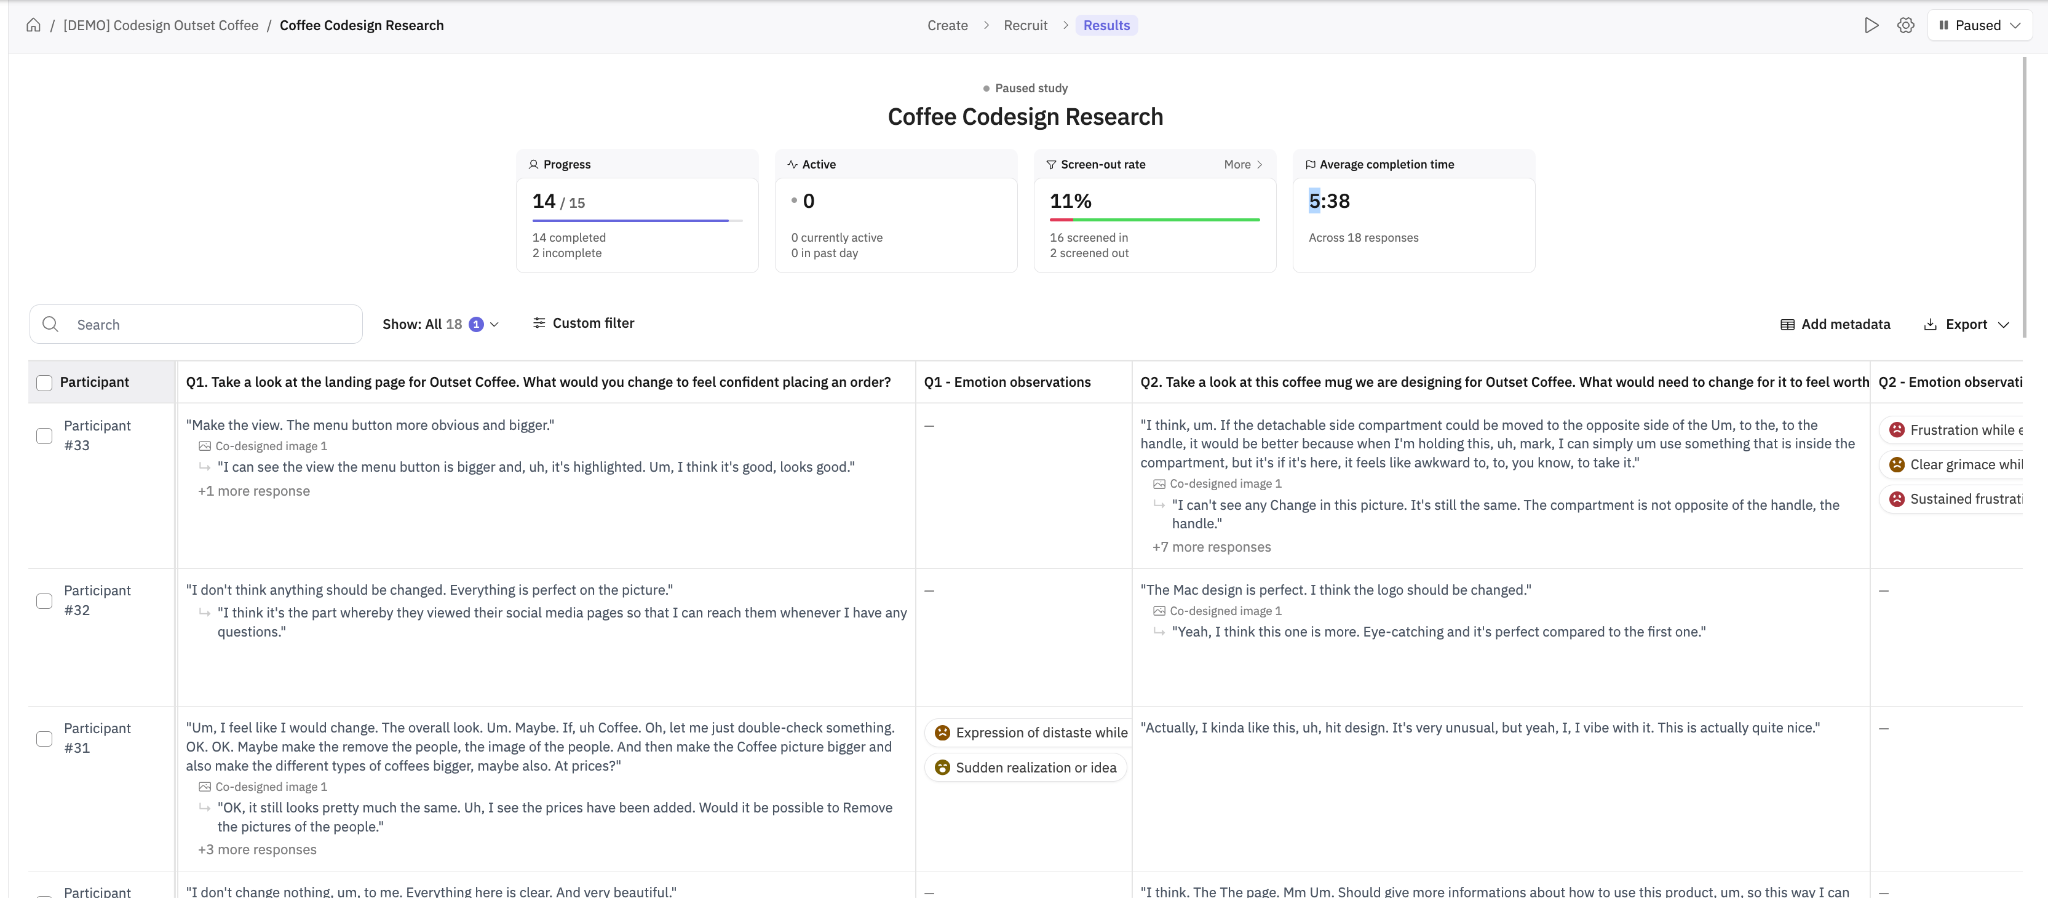
Start with the raw results under the study's Results page to see each participant’s Co-Design responses alongside the rest of their interview data.
To review a participant’s iterations:
Find the participant in the Results table
Expand Additional responses
Review the requested changes, generated images, and follow-up feedback from each round
Dive Into A Generated Image
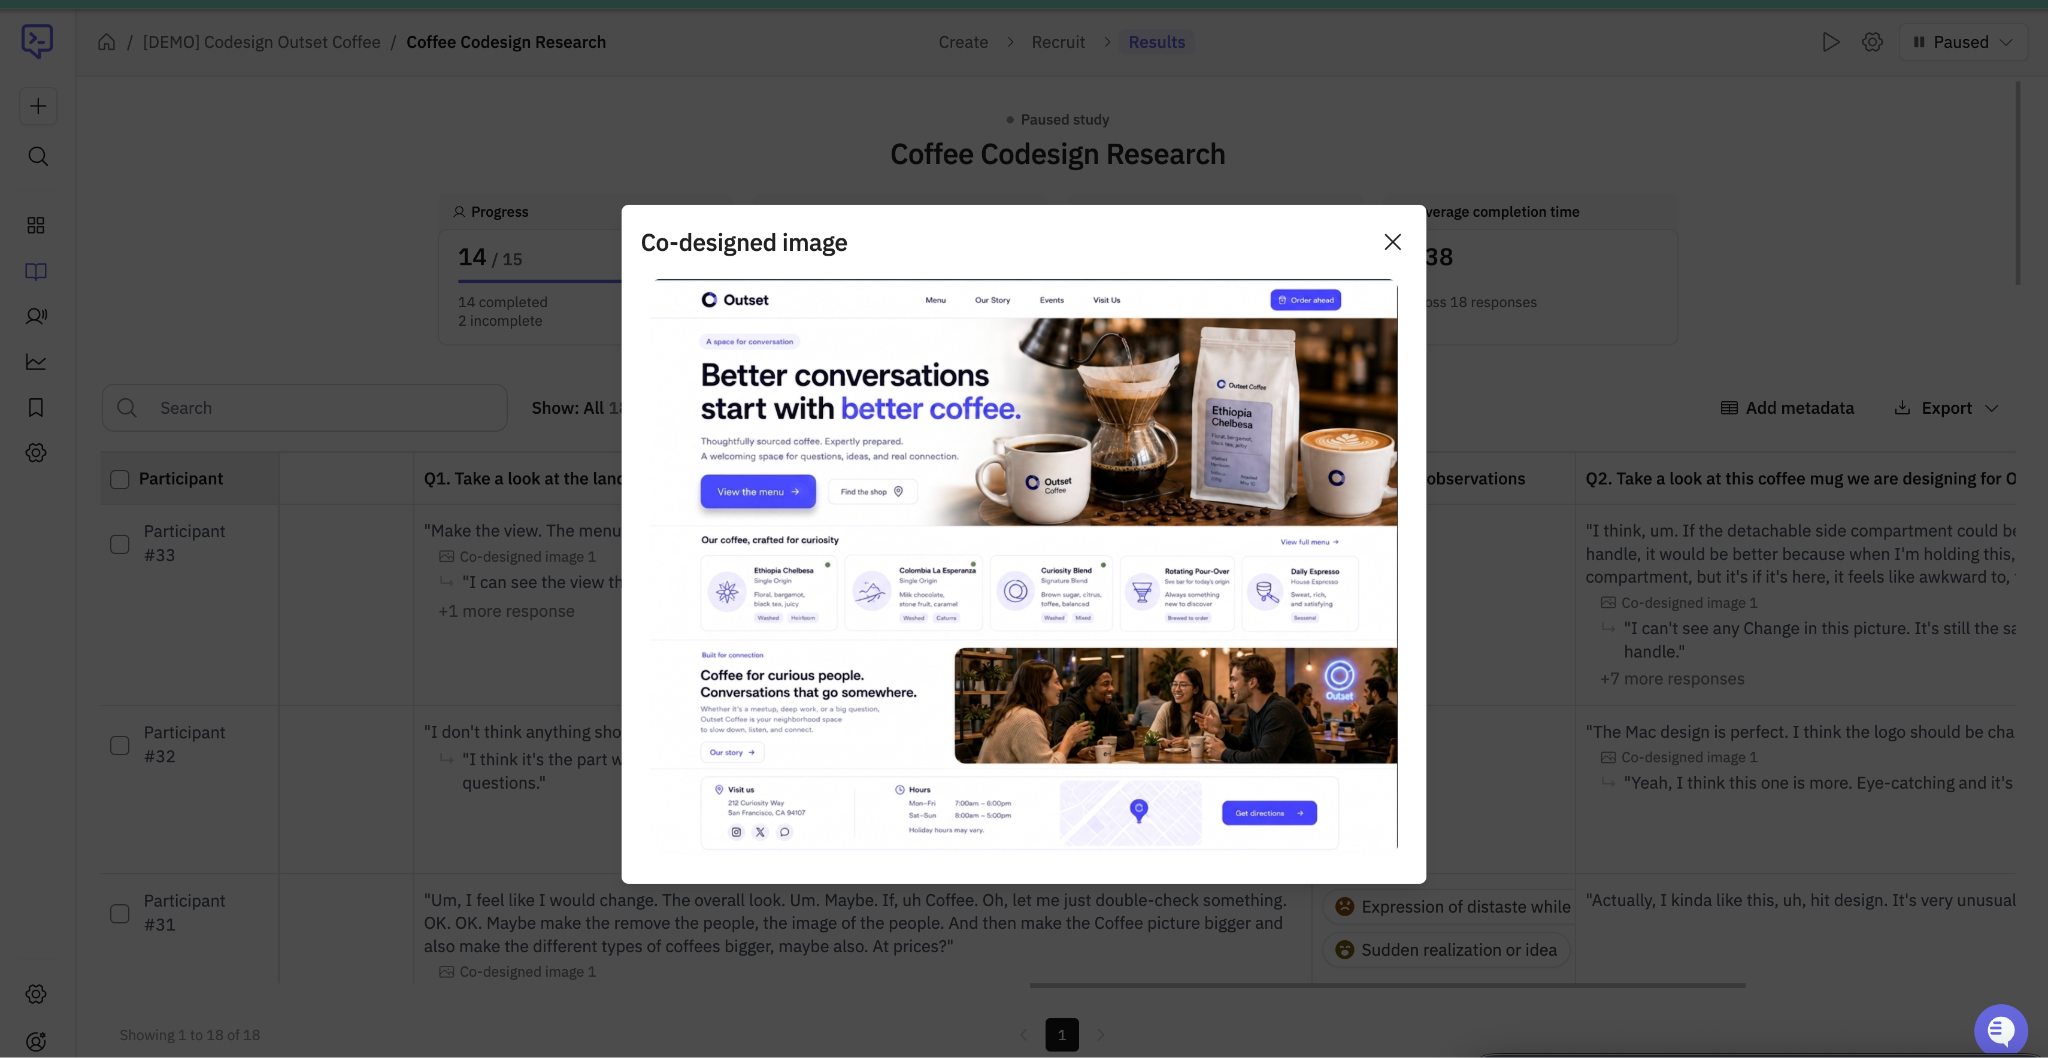
Select a Co-designed image in the participant’s row to open it at full size.
Download Co-Design images
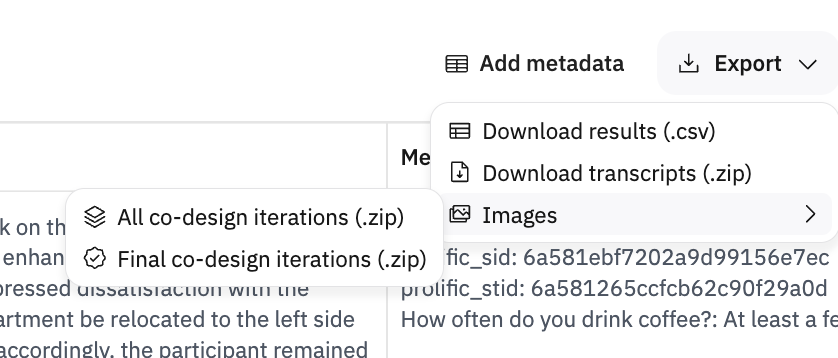
To download images from the study:
Select Export in the upper-right corner of Results
Select Images
Choose one of the following options:
Final co-design iterations (.zip): Downloads the last generated image for each participant.
All co-design iterations (.zip): Downloads every image generated across all participant rounds.
Deep Dive Into Co-design Findings & Analysis
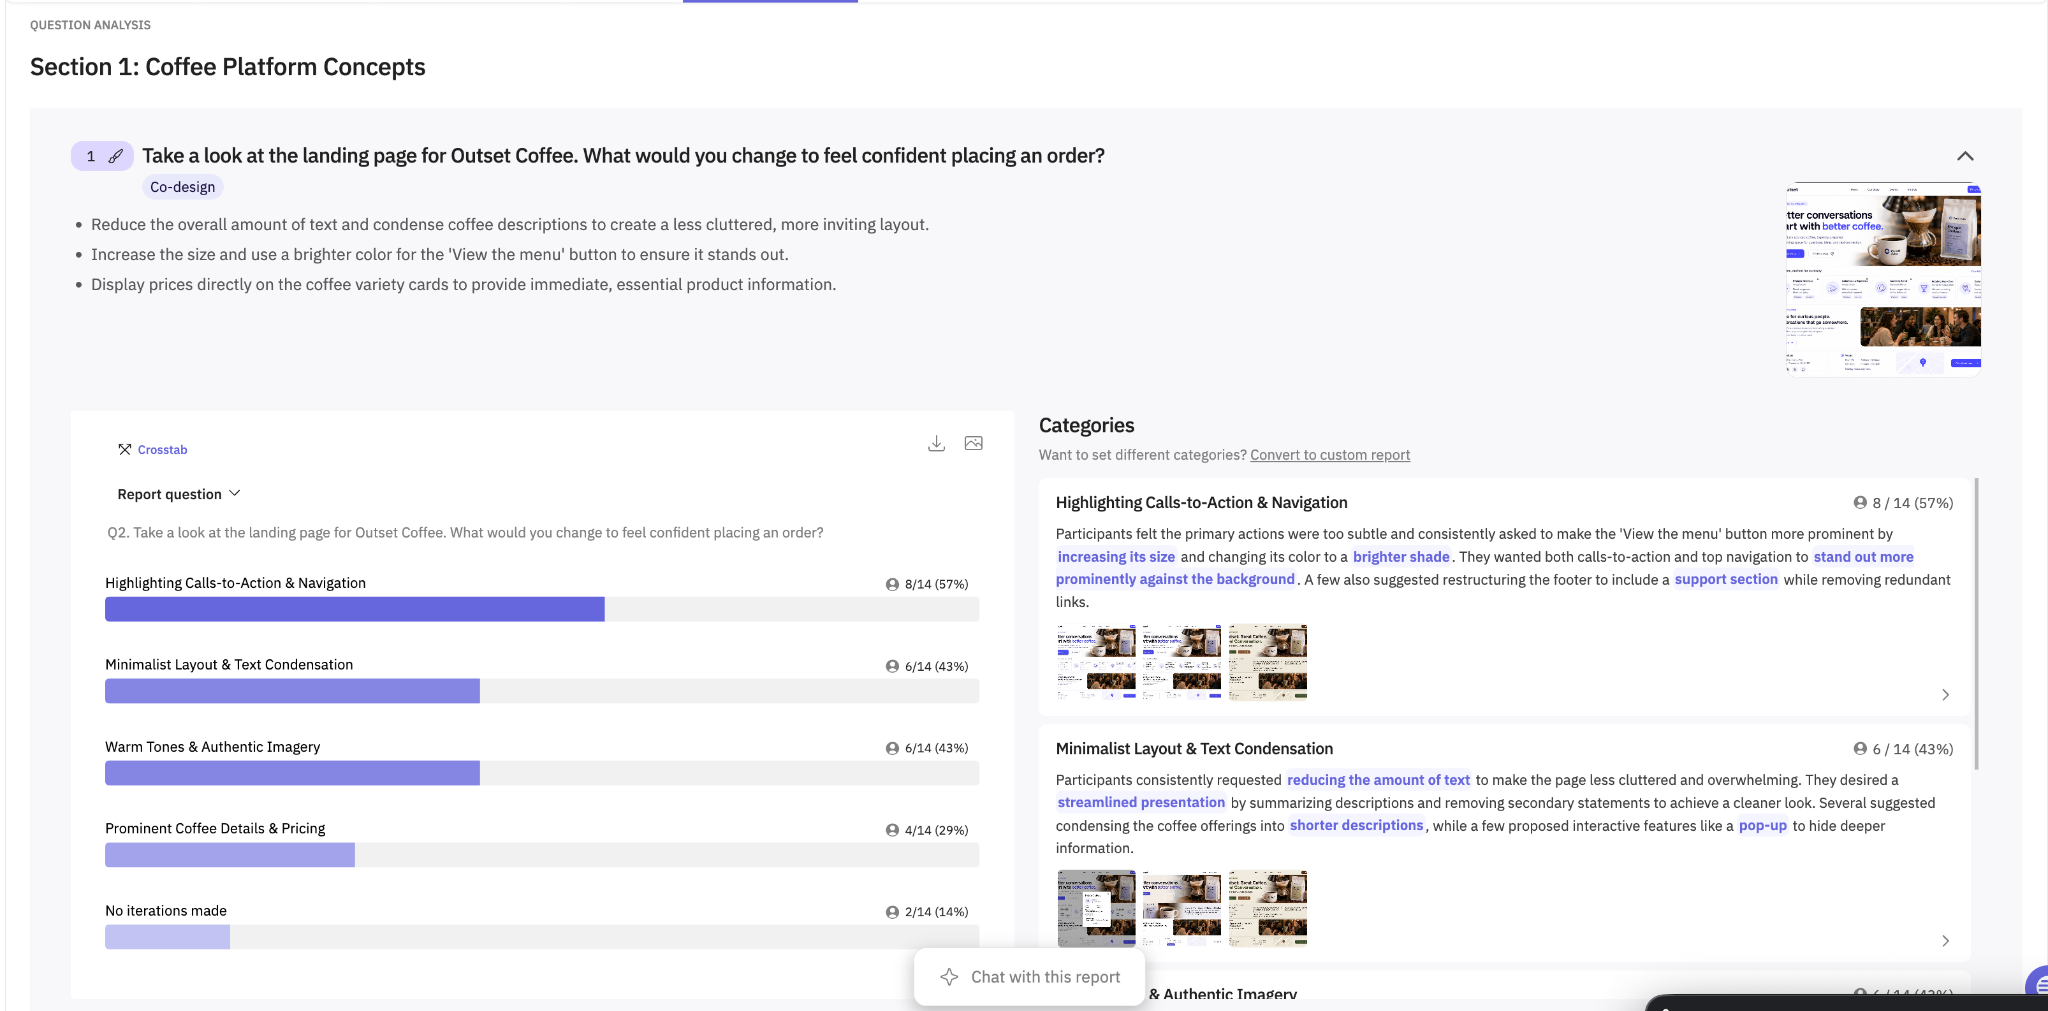
Go to Analysis > Question-by-question and find your Co-Design question(s). Each question includes six sub-sections.
1. High-level recommendations for changes
The recommendation summarizes the most important changes suggested across participants. Use it as a starting point for deciding which design directions may be worth exploring further.
2. Breakdown of responses
The response breakdown organizes participant feedback into categories and shows how often each pattern appeared. Open a category to review the supporting feedback and examples behind it.
3. Emotional Intelligence
Emotional Intelligence shows how participants reacted while discussing the question and reviewing generated changes. Use it to locate moments that may need closer review, then interpret the reaction alongside the participant’s words and surrounding context.
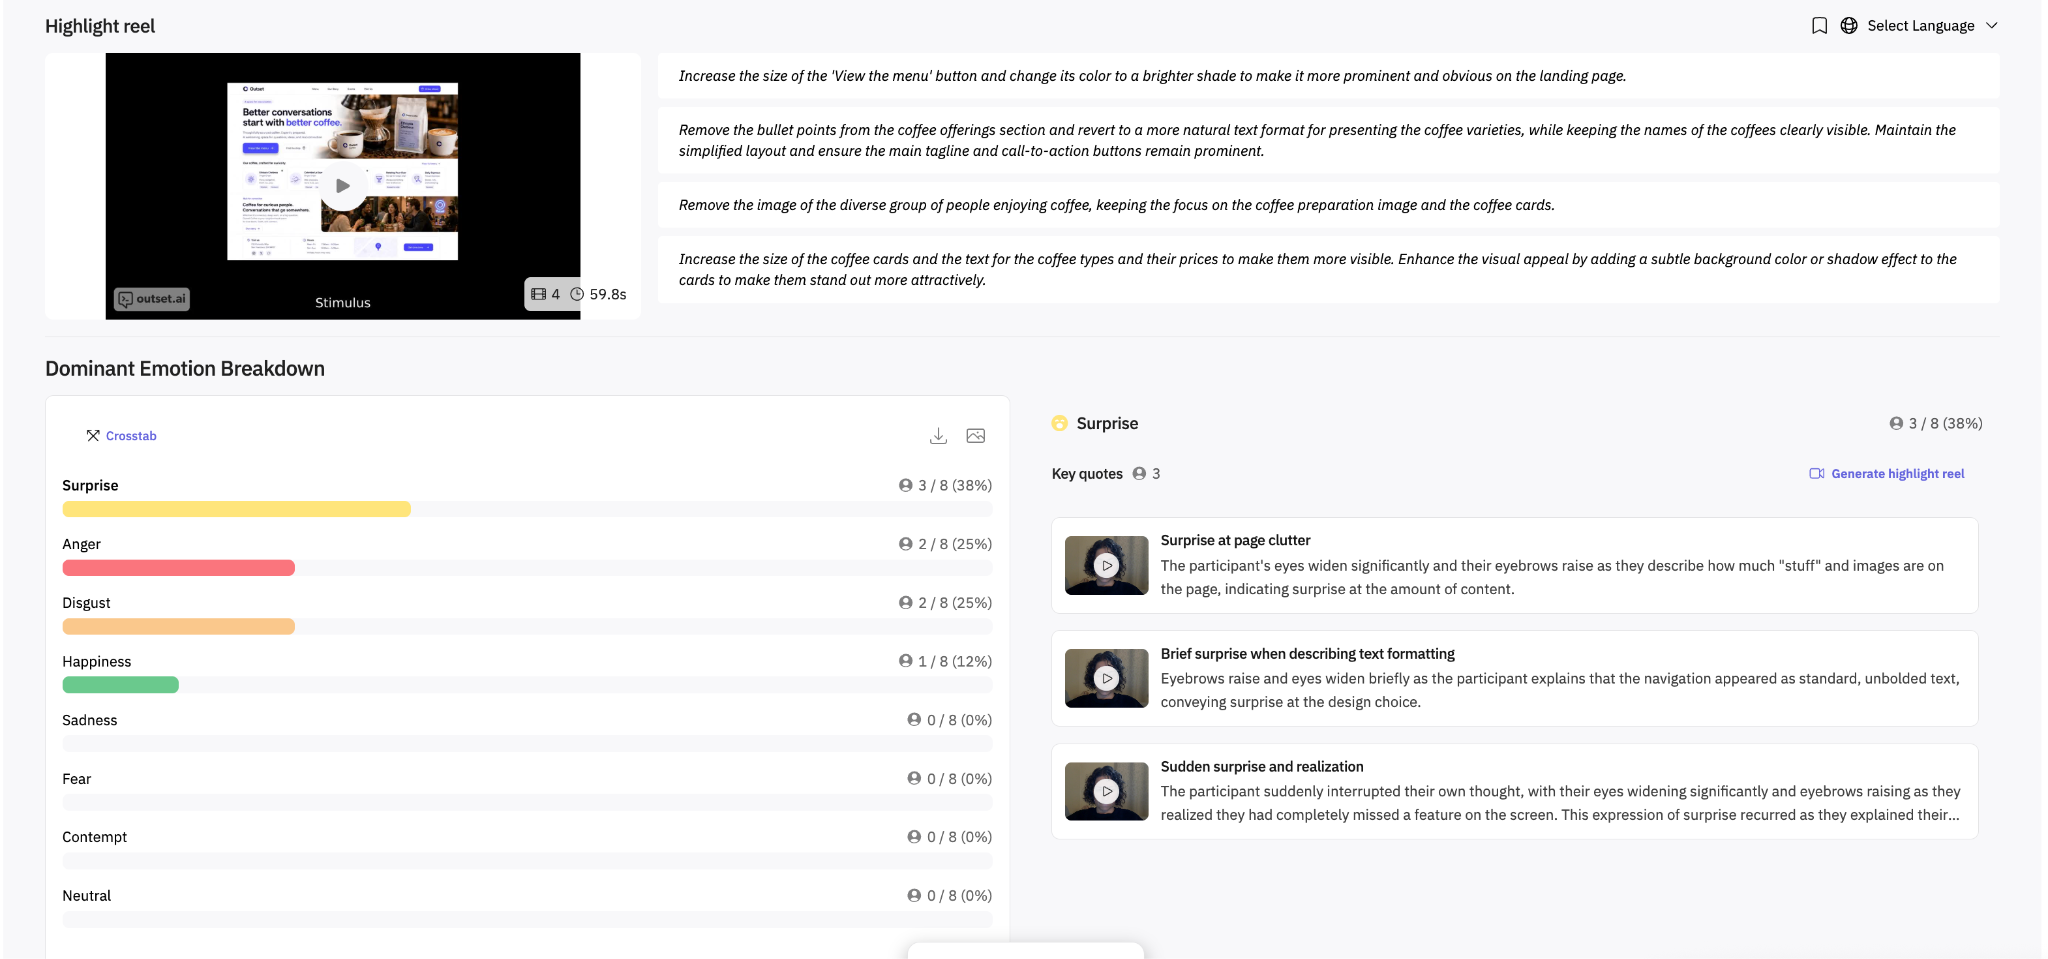
4. Highlight reel
The highlight reel brings together important moments from the interviews. Each highlight keeps the image visible alongside the participant’s feedback so you can understand what they were reacting to.
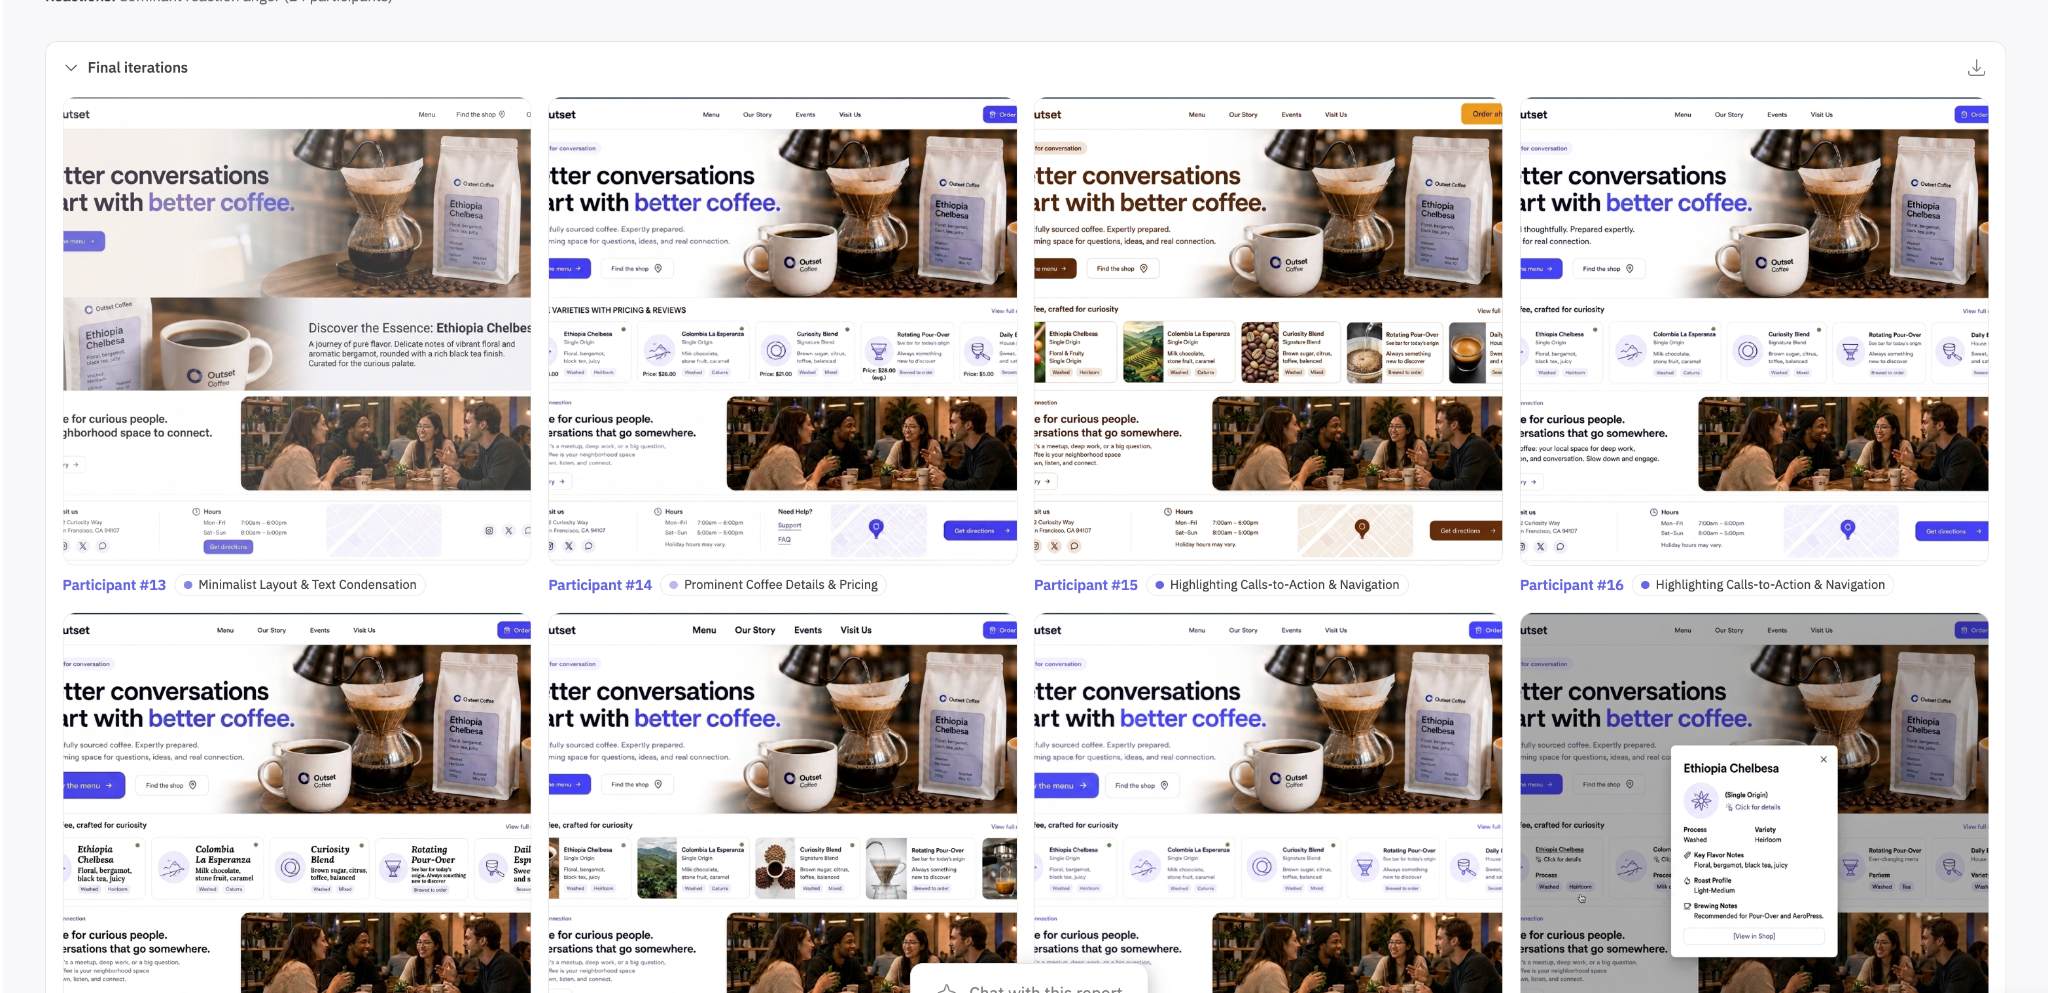
5. Final Co-Design images
Final Co-Design images shows the last generated version reached by each participant for the selected question. Use this section to compare outcomes and identify recurring needs across participants.
Focus on the underlying need rather than an identical visual solution. Participants may suggest different changes while signaling the same problem.
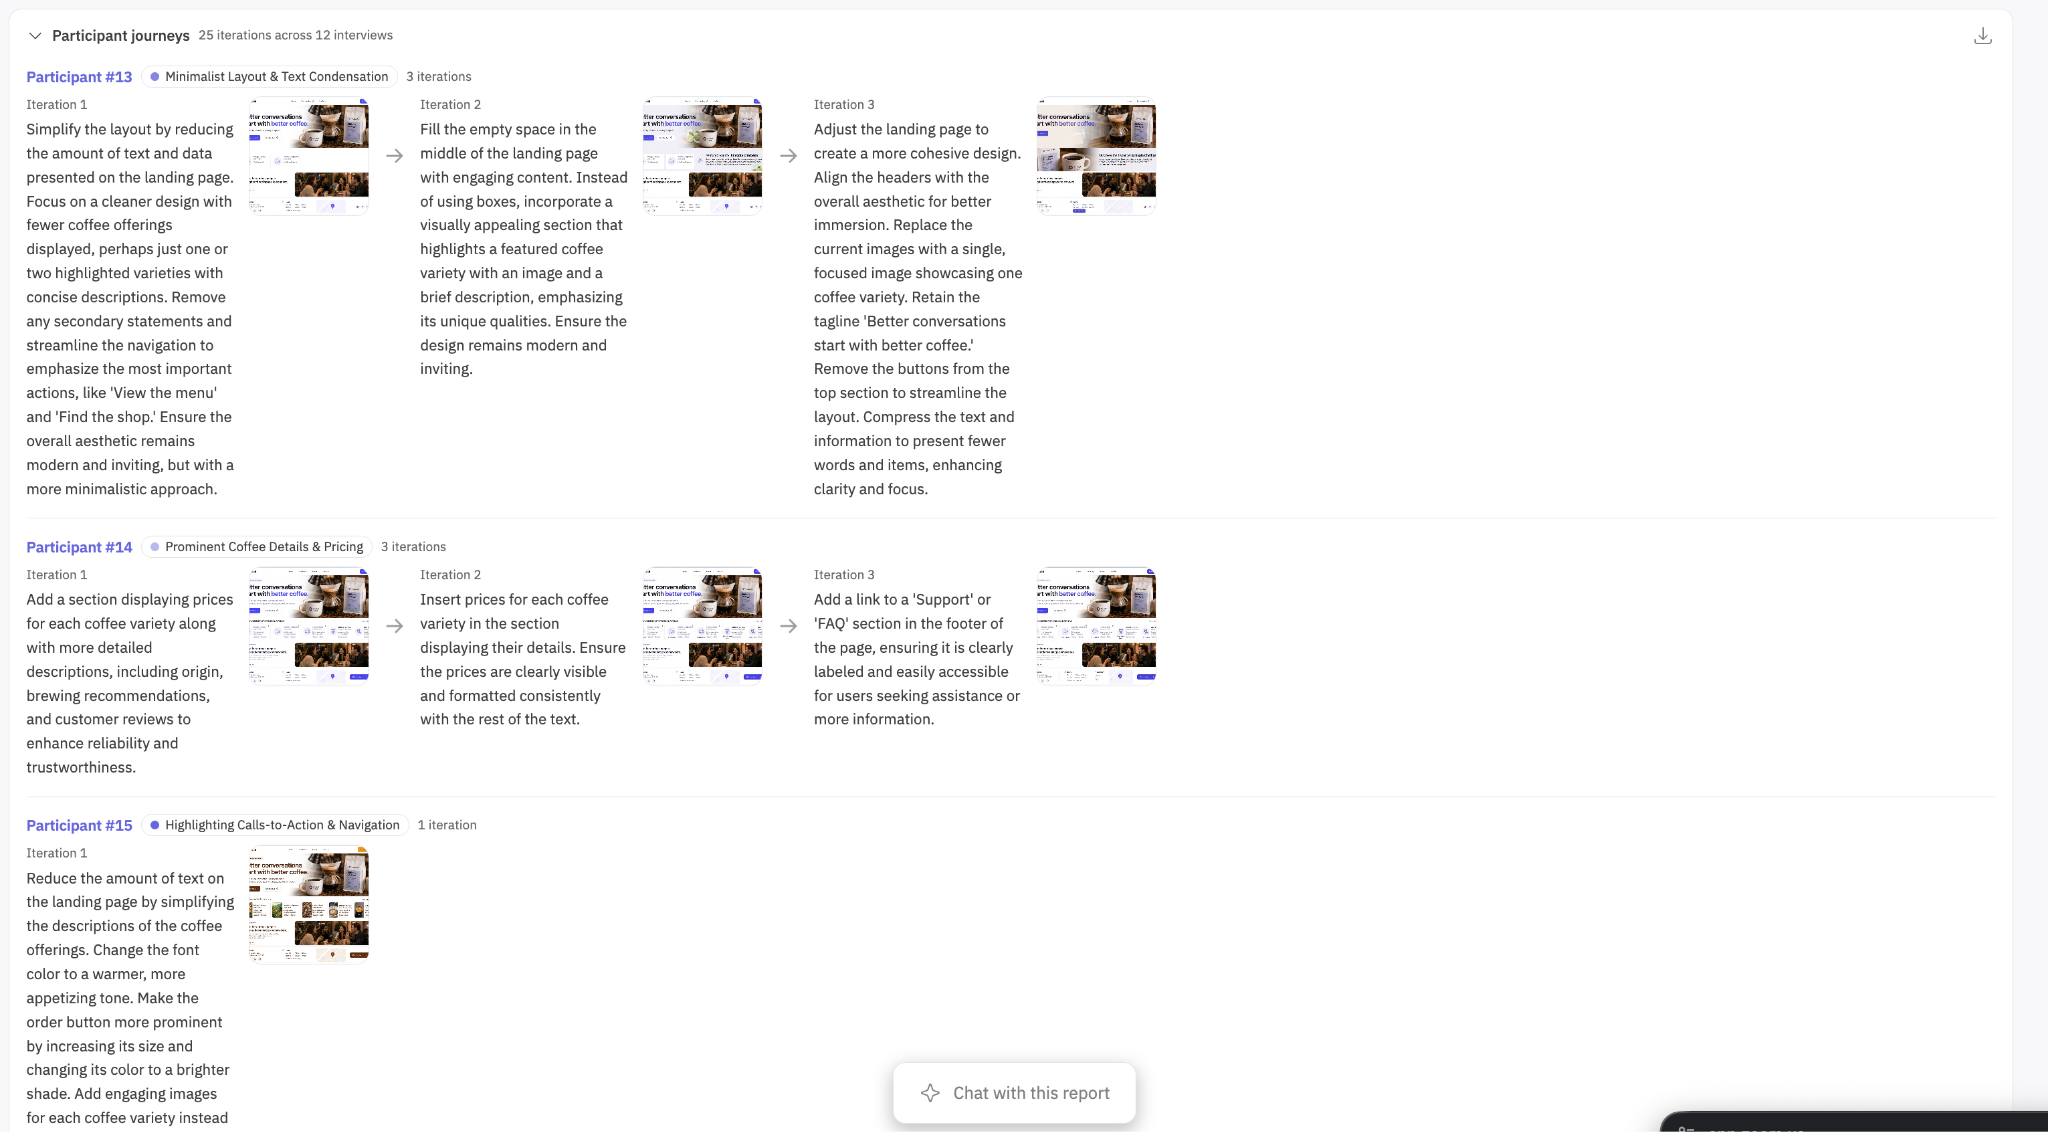
6. Participant journeys
The Participant journeys section shows how each participant’s concept developed across rounds. Open a participant to review each requested change, generated version, and reaction in sequence.
Use the journey when you need to understand why a participant requested a change, investigate an unexpected result, or confirm that the final image reflects their intent.
Next Steps: Use the Findings in Your Design Process
Co-Design images are research artifacts, not production-ready designs. They may not follow your brand guidelines, design system, or technical requirements exactly.
When interpreting the results, focus on:
Changes requested by multiple participants
The underlying needs behind those changes
Directions participants responded to positively
Areas where participant needs conflicted
Avoid selecting the most polished image as the “winner” or combining every requested change into one design.
Use the findings alongside your team’s design expertise and constraints to decide what to refine or test next!
Hope this helps! If you have any further questions, please reach out to our team at support@outset.ai or via chat.